Adding your own widget area to your WordPress site allows a great level of customization to specialized pages. Say for example you want to include a sidebar for a particular page (say a “Meeting Minutes” page for a business) that has a custom menu that links to all the different meeting dates with minutes for that date. This would allow easy navigation between the different meetings if they reference each other. You wouldn’t want this sidebar on every page of your site, only on the minute pages. Luckily, it is very simple to add your own widget area to your theme’s custom templates/pages.
If you want to more know about widget areas, check out the WordPress Codex Page. It contains a lot of information for those who want to know more than the basics.
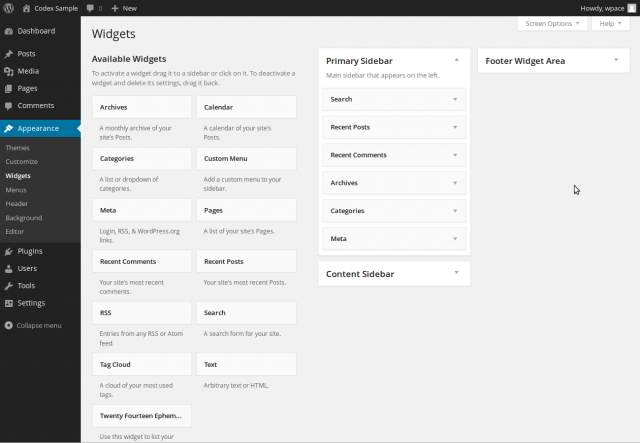
Creating the Widget Area
The first thing we need to do is create the widget area in our theme. We can do this by adding the following code to your functions.php file (if you are using a child theme, make sure you use that themes function.php file):
Please note that – as is the case in all programming – you can name your widget area and its ID whatever you want. You can also see that there are also attributes for what to display before the widget, after the widget, before the widget title and after the widget title. You can also put whatever you want there, but be sure you note what it is since this will be used to style the widget.
The add_action will then hook in your newly created widget area. If you want, you can have more than one widget area in the init_my_widgets( … ) function by making more than one call to register_sidebar( … ). For example, you could do something like:
Adding the Widget Area to the Theme
Adding your newly created widget area to your theme templates is even more simple than creating the widget area. All you need to do is use the following code:
This will display the widget area where ever you stick that code. In your actual template, you will probably want to surround this with some kind of <div> so you can style it properly. The end result might look something like this:
That’s all there is to it! You would of course have to create all the CSS for the widget area still, but that is really dependent on your theme so there is no point going into it.
Creating a widget area is an extremely simple process so it can be used as a simple solution to many problems you may run into. I use widget areas along with custom menus quite often in my sites to fulfill common client needs for easy navigation. Again, if you want to more know about widget areas, check out the WordPress Codex Page.
For my next tutorial I plan on showing how to make custom widgets that we can add to our new widget area. It is a little more in depth than what we did in this tutorial, but its still not too complex to do a simple example. Hopefully that will be next weeks tutorial.
As always thank you for reading and please share it around as much as you can! Please feel free to put any suggestions or ideas for future tutorials in the comments section below.