
Sublime Text 2 is awesome all by itself. I bring up Sublime Text in pretty much every post I make on this blog. However, there are some things missing from Sublime Text that would be really nice to have. Firstly, it would be nice to be able to open projects and files from the command line. Second, it would be awesome if you could right click on a project folder and open the entire project into Sublime Text. Luckily, its quite easy to add both of these features, so without any more fuss, lets start!
To get started, if you haven’t already, Download Sublime Text 2 right now! Its the greatest text editor available right now and has pretty much become industry standard. If you want to know more about one of the best features of Sublime Text – Snippets – check out My Blog Post.
Now that you have Sublime Text downloaded and setup, lets take a look at adding the ability to open up files and folders via the command line. Open your Terminal App of choice (I personally use iTerm2 because of some of its advanced customization features but the native terminal app works really well too). Once open you will want to open up your .bash_profile by using the following command:
Next you will want to add the following line (copy it then paste it into nano using Command+V):
You will now want to save the changes you made to your .bash_profile. You can do this (assuming you used nano) by hitting Control+O (thats the letter O not the number 0) to write out the file, hit Enter when it asks for the “File Name to Write: .bash_profile” since we definitely want to keep that name, and then hit Control+X to exit.
And that’s all there is to it! Once you have done that you can open any folder or file in the terminal with Sublime Text. Give it a try by opening up your documents folder:
Now also seems like a good time to mention that like many of my little blog tutorials, this tutorial is directed at Mac users. If you were a Linux user, you would add the information to your .bashrc. If you want to know about the differences between the .bash_profile and .bashrc, you can read about them here. The post is nice and to the point but gives you a good understanding of what the differences are.
In the Mac world using the .bash_profile works perfectly so I would stick to that.
Alright now that we have the command line working, lets get the GUI world working. Our plan is to add the same command we just added to our .bash_profile to Automator and have it work by right clicking a folder or file. To start off, open up Automator (a native app that comes with OS X).
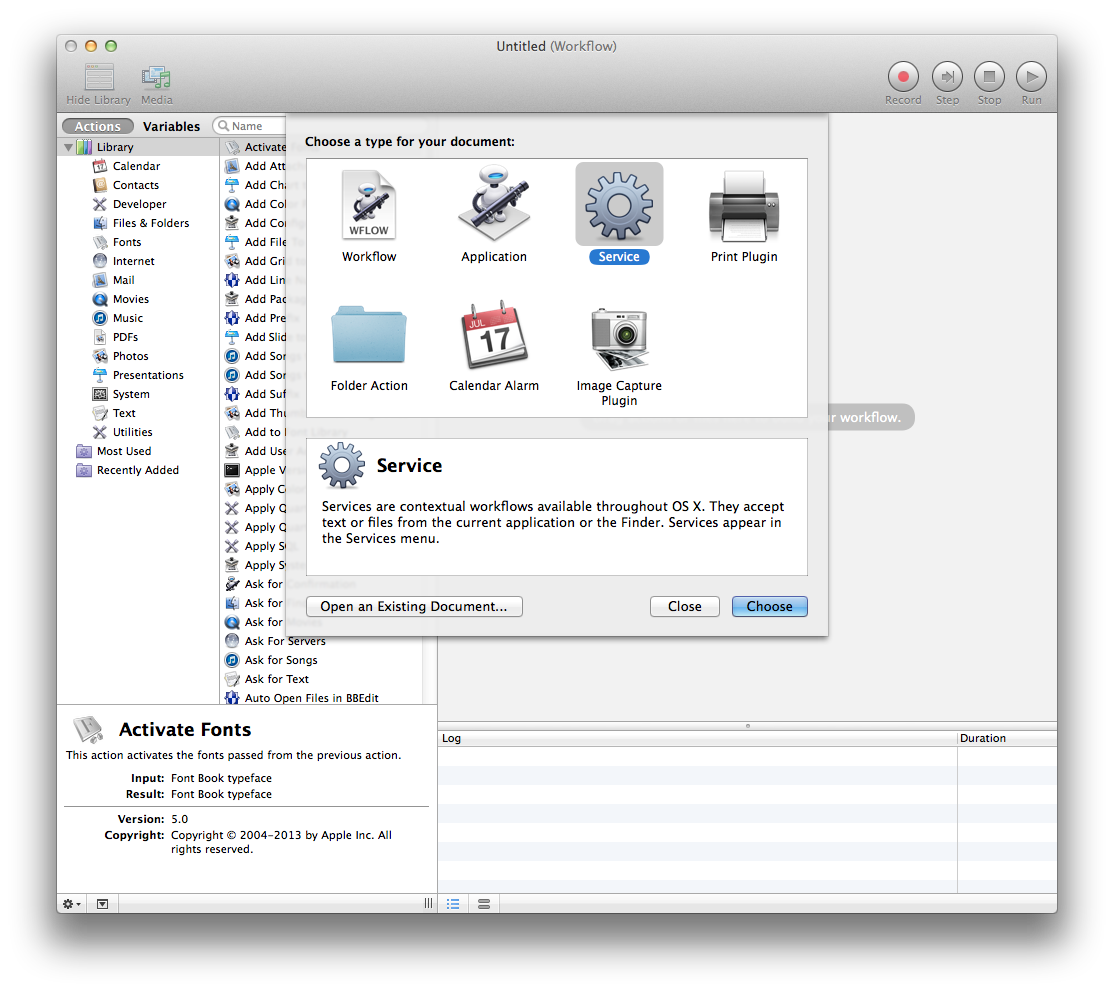
Tell Automator that you want to create a New Document, and that you want it to be a service.
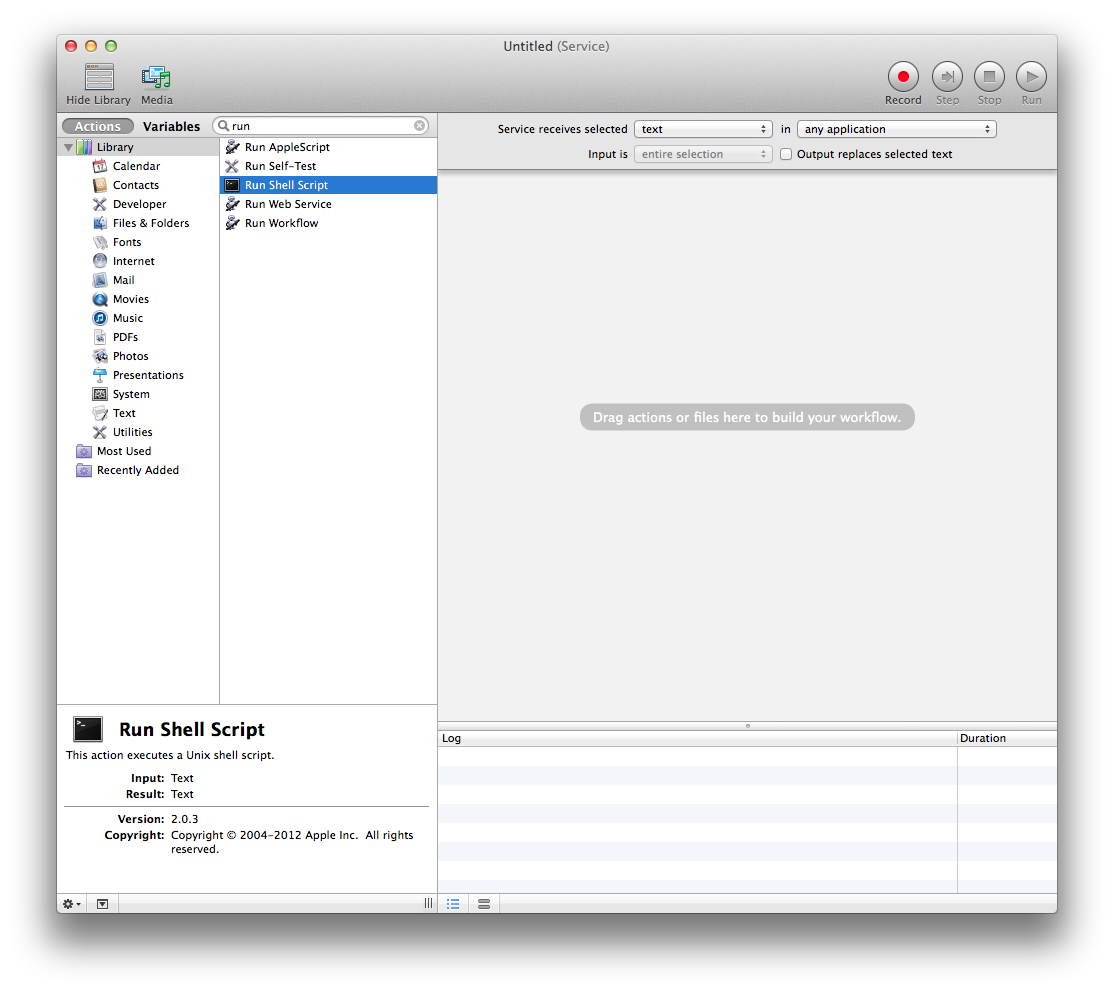
You want to tell Automator that you want to run a shell script, so in the search box type “run” and the action “Run Shell Script” will appear.
Next you will want to drag “Run Shell Script” to the right hand side. This will expand it so you can type in what you want it to run.
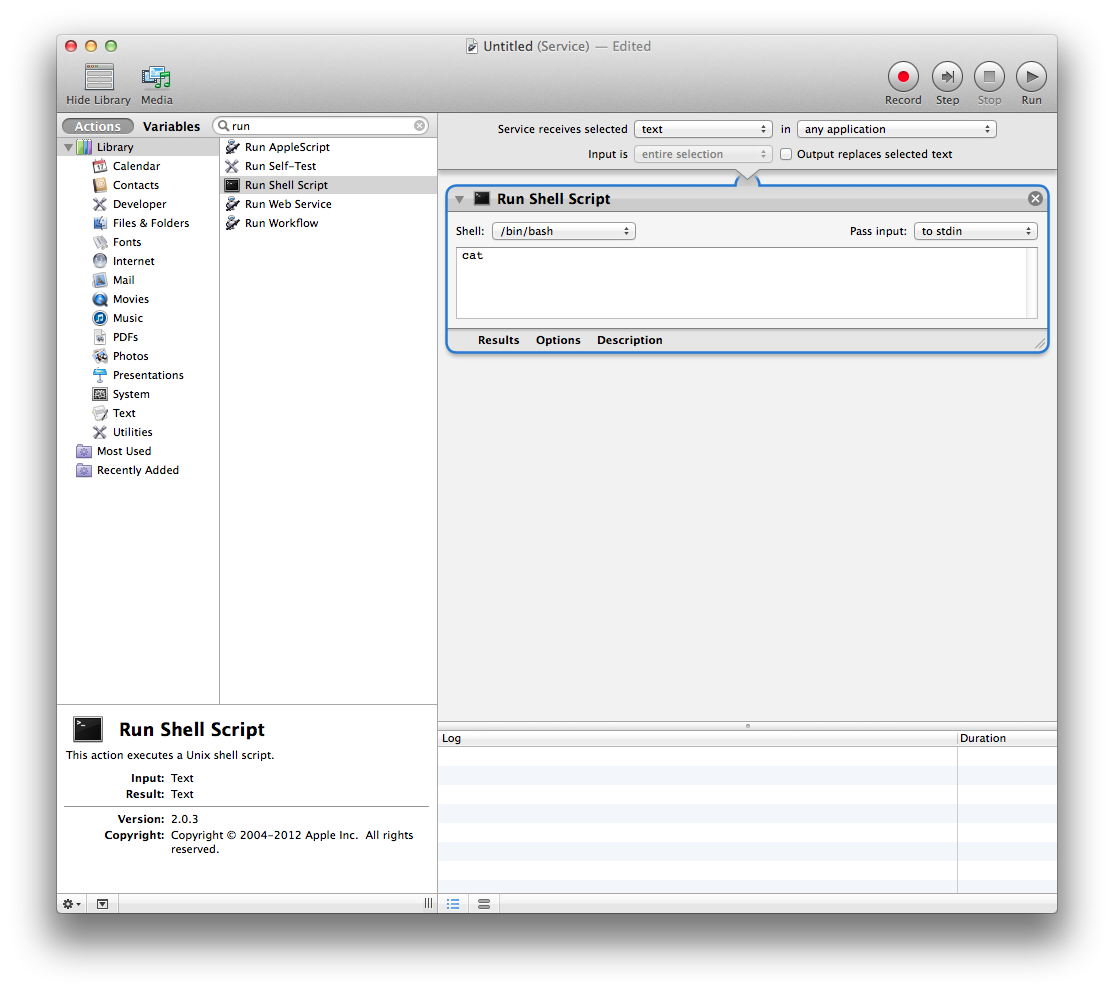
Next you will want to paste in the follow command:
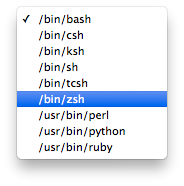
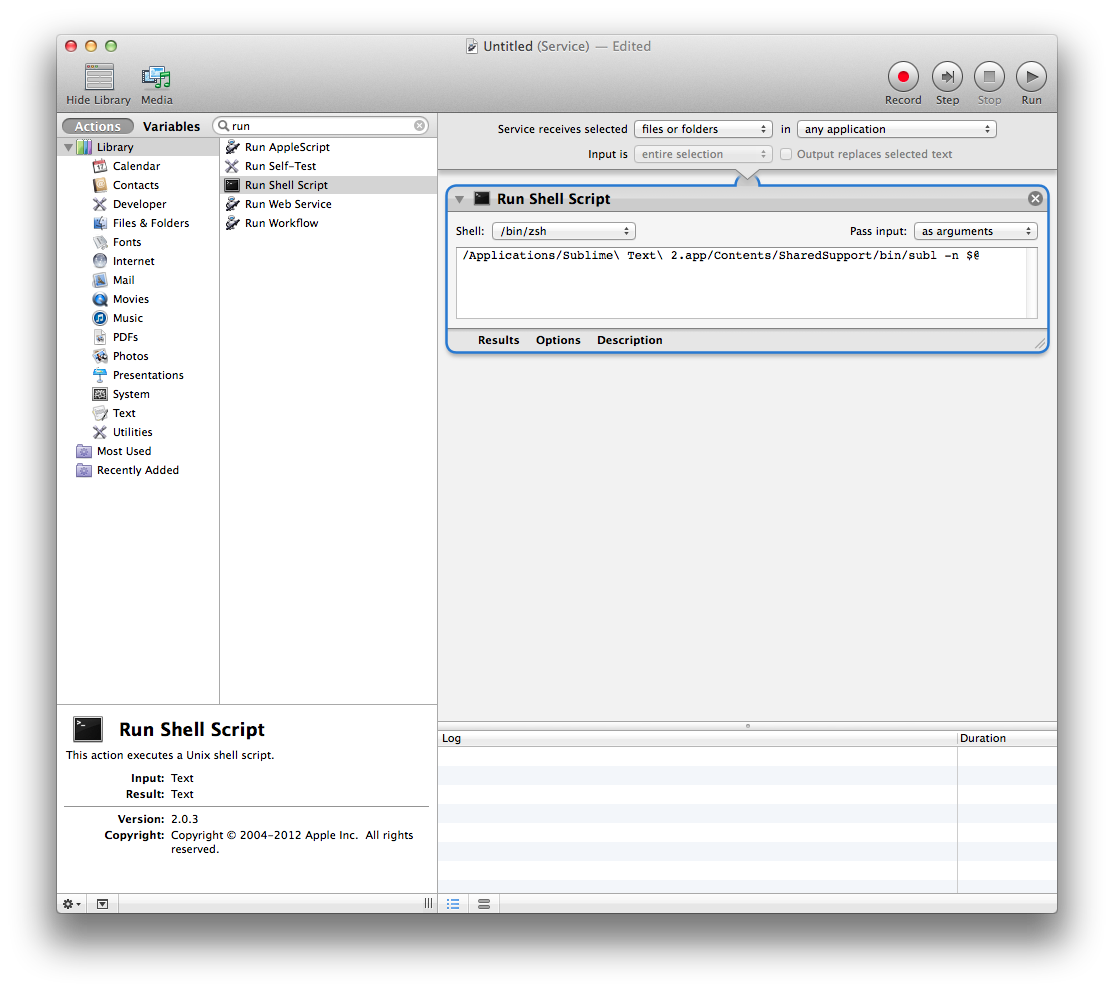
Once that is done we only need to change a few more things for this service to function. First, change the “Shell” option to “bin/zsh”. This option is located in the top left hand corner of the Run Shell Script action box.
Once that is done, you will want to change the “Pass input” option to “as arguments”. This field is located in the top right hand corner of the Run Shell Script action box directly across from the “Shell” option you just changed.
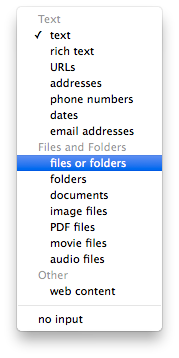
Finally, you want to change the “Service receives selected” option to “files or folders”. This option is located at the top of the Automator window, slightly to the right. It should be directly above your Run Shell Script action box.
The final Automator service will look like the following, so if you have it matched up it should work perfectly:
Save the service and name it whatever you want. I named mine “Open with Sublime Text 2”. You need to save the file to the “/your-user-name/Library/Services/” folder, but Automator should have that setup automatically for you. If it doesn’t then that is the folder you need to navigate to.
Once its saved you should be able to right click on a folder and at the bottom it should say “Open in Sublime Text 2” (or whatever you name your service). That’s all there is to it! We have now added two great features to extend Sublime Text’s capabilities.
As always thank you for reading and please share it around as much as you can! Please feel free to put any questions, suggestions, or ideas in the comments section below. You can also email me directly via alex@dobsondev.com.